![]()
Home Projects Technics Pictures For Sale Meetings Contact Movies Links
Fitting a Evo2 or Cecotto front spoiler

This article is just to give a hand to fit a aftermarket evo2
spoiler to you're M3 bumper.
Most of the aftermarket stuff are copies from originals, some of them even have
the oem BMW numbers in them.
Mostly they are made from polyester.
Polyester has a benefit of being light weight and it can bend.
But between ABS and polyester, polyester will brake, where ABS will be dented.
Polyester when molded also has another drawback, it can shrink, this depends on
the temperature, quality of the resin and so on.
It can shrink as much as 1cm per meter.
Now that we know a little about the materials that we are working with, we can
go on talking about fitting the evo2 spoiler.
Fitment is quite easy
Before painting the spoiler, always check you're fitment.
Use some paper tape for you're bumper, so you won't scratch of any paint
Press it on, and yes, you have to press well, the lips behind the bumper have to
lock it in place.
Look around the upper edges if you have to sand off some material.
When you're happy with the result, we can start drilling holes.
It's best to have a mate help you so that the spoiler doesn't shift while
drilling.
Later on I will talk about some troubleshooting, but for now we will go on with
fitting the spoiler.
In the 2 corners of the spoiler and bumper, you can drill a bigger hole for a
screw, I used a clamp with thread in it with a screw.
Those you can get by any local moped/motor dealer, all the covers are fitted
like this.
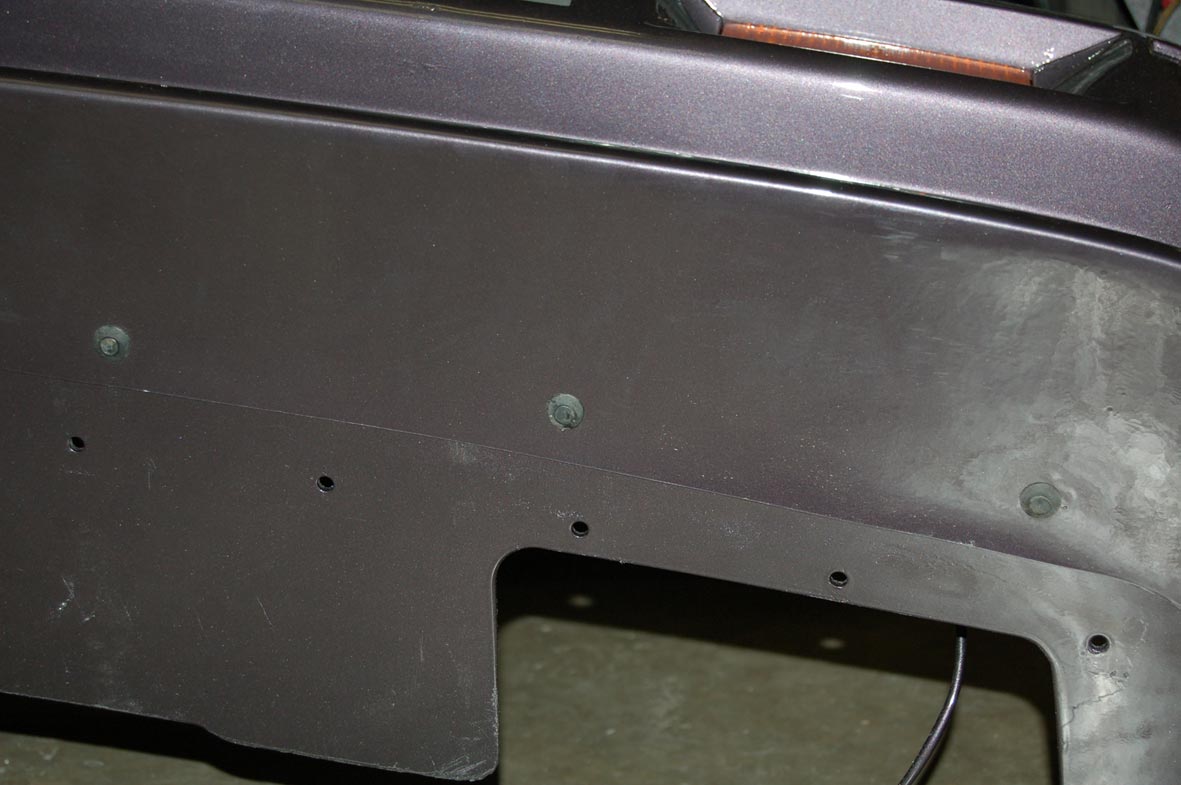
For the bottom I used plastic press buttons or expanding rivets, those you can
order at you're local BMW dealer.
order number ETK 51 16
2 121 287
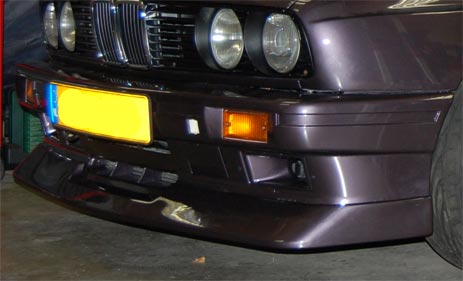
In the next picture you can see how
the result looks with the rivets.


A few holes are enough, you don't want to make Swiss cheese from it.
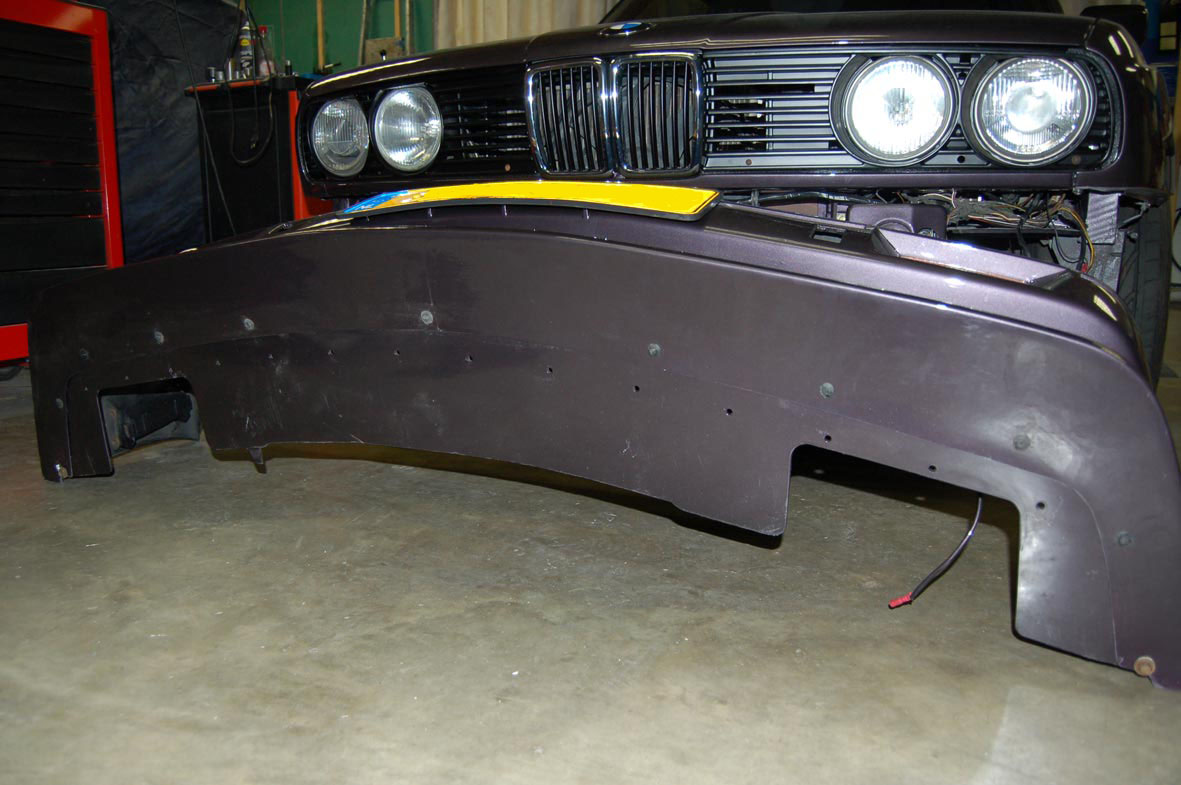
On the bottom here you can see the screws where to place them.
The Evo2 spoiler is already in a proper form to keep itself into place
After all this, you can de-mount the spoiler and getting to paint it.
Now, the trouble shooting.
Some things you'd should know.
We talked before about some of the properties of polyester.
Another one is that it will miss form when it sees to much heat.
A sunny day won't be a problem, but the paint booth would.
It would be a downside if you would do all this trouble and get back you're
spoiler and it won't fit.
So tell you're painter to let the paint cure without heat treating it.
Most of us will order a spoiler overseas and not from the corner store.
The seller's don't want the postman to mess up the spoiler so they normally pack
it in really well.
But in time with transfer, there always can get some miss forming.
So when you first try to fit it, and it won't fit at once like a condom, don't
directly blame the maker of the product.
Remember what I said in the beginning, most of the spoilers are copies of a
original.
If this is the case, you're spoiler wont fit properly, we can use some of the
benefits of polyester again.
Most of the time, due to packaging, the middle part wont line up properly and
will look to low.
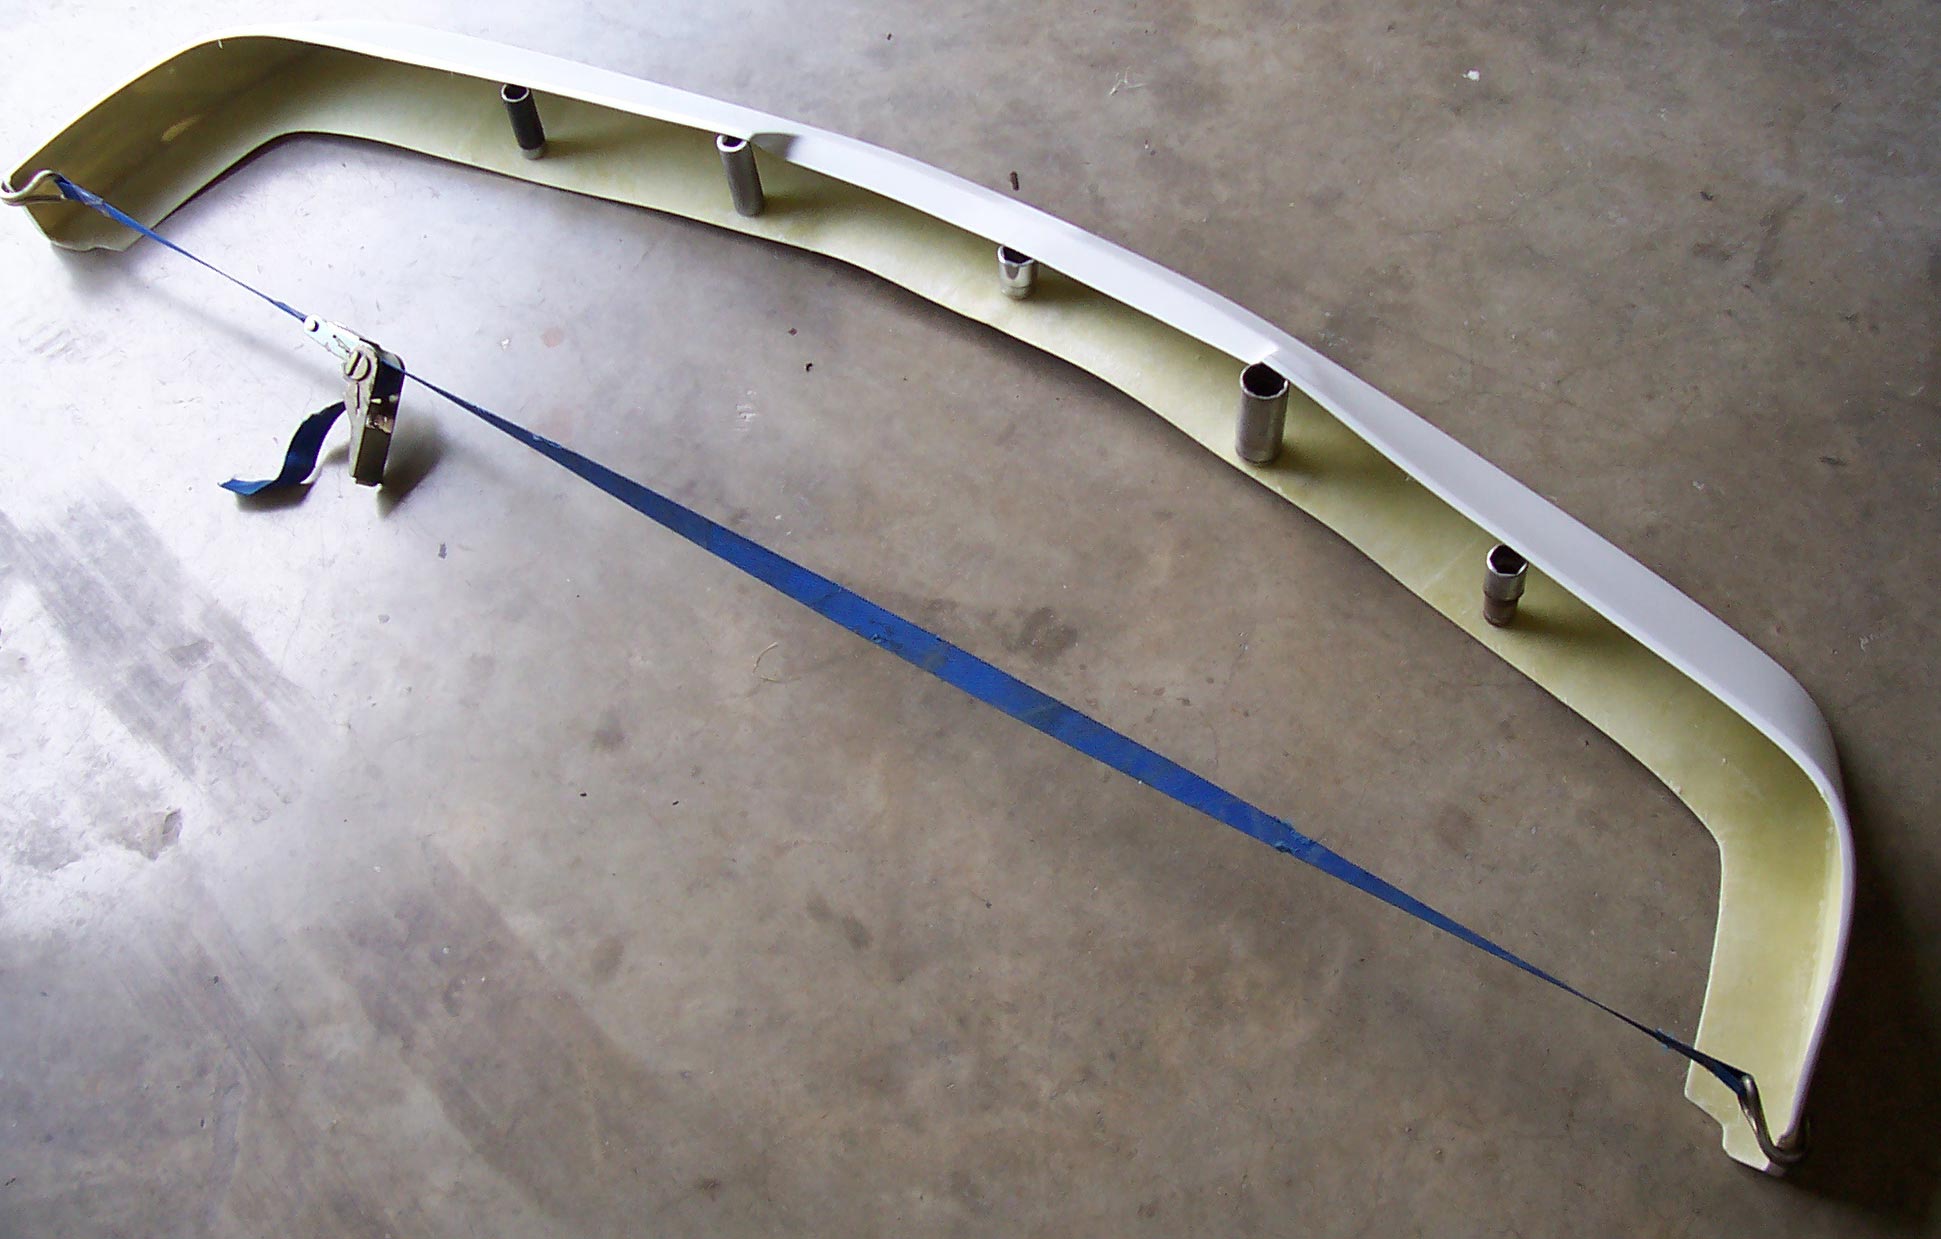
You can measure the gap that you miss, and put anything between it so that it
will widen and the gap gets bigger.
I used a little block of wood.
But then again, you can use anything.
You can let it set overnight in a nice warm environment, and the polyester will
automatically take a bigger shape the next day.
Here a example of what I mean that you can do to get it in to perfect shape
The alignment on the outsides sometimes require some force.
You can damage, or scrape you're original bumper.
So the best thing you can do is tape up the corners, use the paper tape and not
the thick McGuiver tape.
So don't be afraid to use some force.
For example, my car was freshly painted, first day/evening I went out for a
spin, I hit a rabbit with over 100Km/h
The spoiler didn't break or let loose, it shifted a little downwards, but
no significant damage.
The bumper itself on the other hand had a crack in it because of the rabbit.
So you see how strong it is, but I can't recommend it for hunting purposes.